Originally By Anna Cechony, June 23, 2023
Imagine this - you are out on a mission to find the perfect denim jacket. This jacket has to fit you in all the right ways, be the perfect color, and have all the necessary pockets. And most importantly, it has to be made out of some really good materials that are going to last you a long time! And you can never find the perfect jacket! It’s like there’s always something that is just a little off. And you don’t want to spend your money on something that isn’t exactly what you’re looking for. It feels like you’d have more luck finding a glass slipper that fits correctly…
Does that sound like you? Have you ever experienced this before? We have a solution for you! You can make your own! It sounds a lot more difficult than it actually is. And to show you that it’s a fun and manageable process, we have Anna Cechony of @loretta.makes.things as a guest writer to talk all about it!
Take it away, Anna!

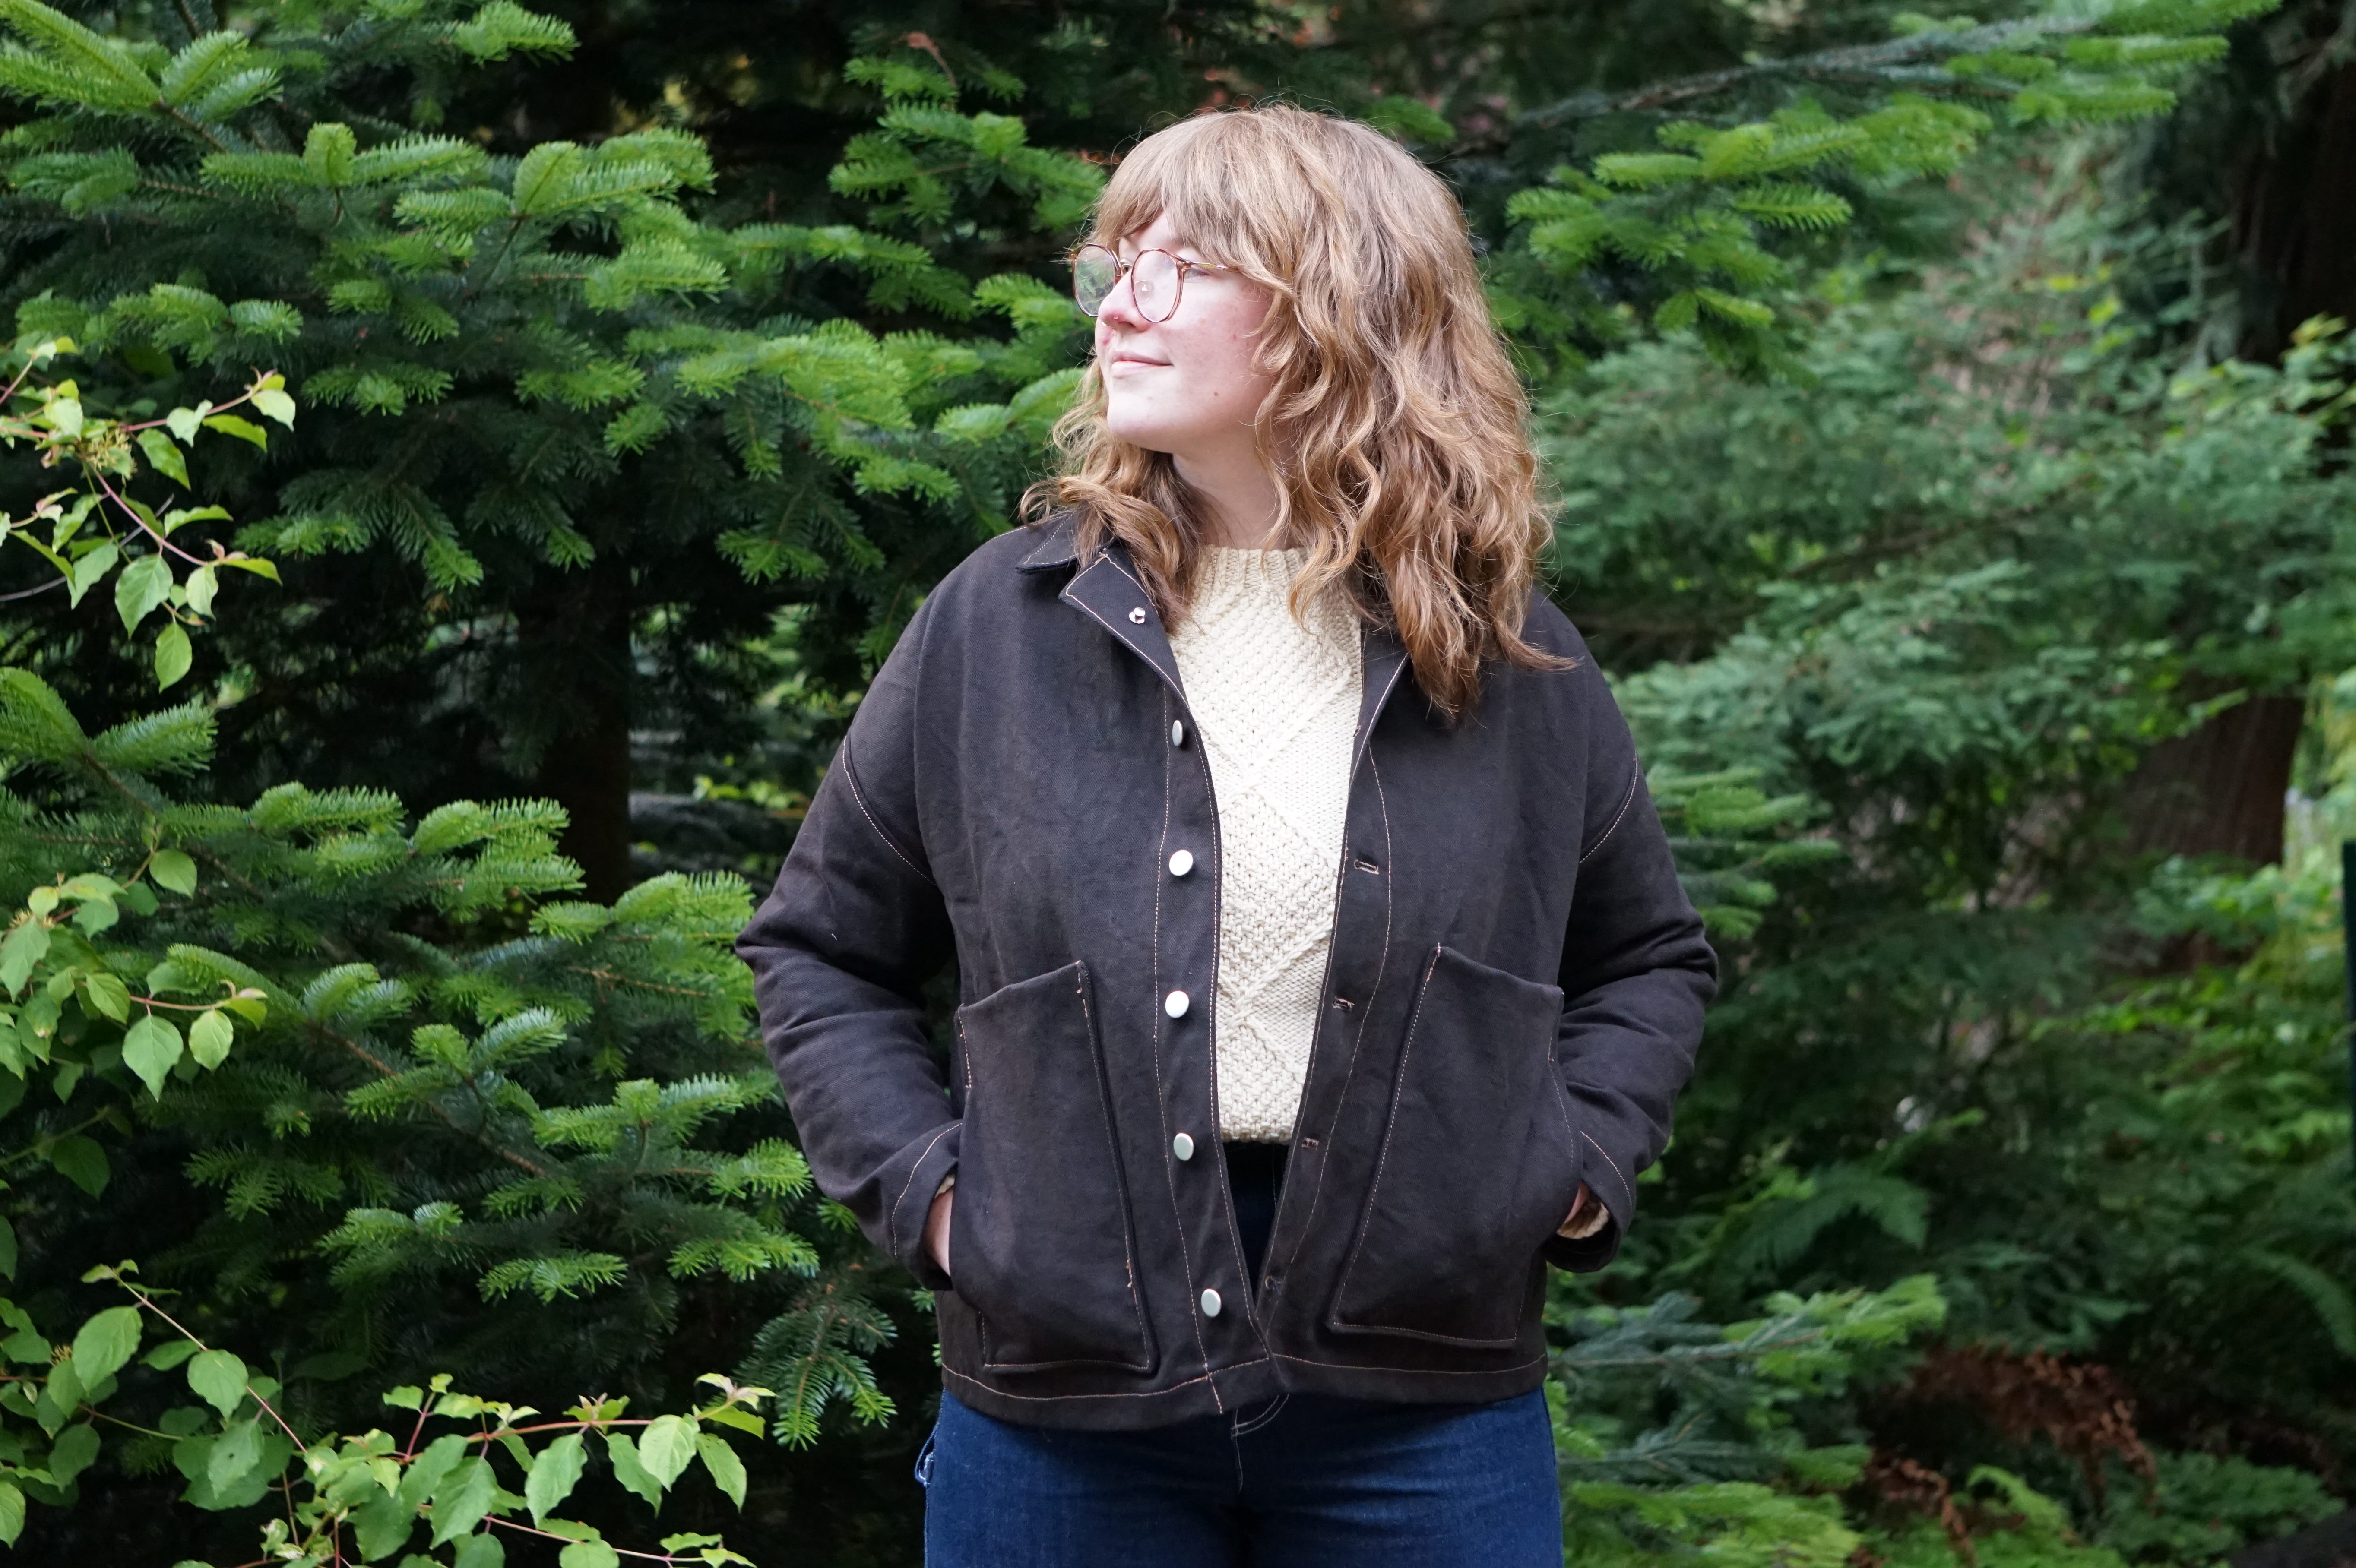
I have been wanting a thick denim chore coat, and when I saw the 14.5 oz 100% cotton chocolate denim made by Cone Mills, I thought it would be a great match for the project! To achieve the shape and style I wanted I used the Ilford Jacket pattern.
To complete this project you will need:
- An Ilford Jacket Pattern
- The appropriate amount for your size of a woven fabric. The Ilford Jacket is a great pattern that can be used with many different wovens to achieve different effects.
- 5-12 Buttons
- All purpose thread
- Topstitching thread
Washing and preparing the fabric
There are a lot of different schools of thought around how to pre-wash and prepare denim for sewing. The raw denim purists don’t wash their denim, they freeze it when there is a need to clean it and machine wash sparingly to manipulate the ways fading happens. They look incredible, but for my lifestyle I know I need to be able to machine wash things. So I decided to wash my denim ahead of time and washed it on cold and tumbled dry. There were a ton of wrinkles and the only thing that helped get them out was a super hot steam iron. This only works because the denim is 100% cotton, if there is any elastane a hot iron will melt your fabric.
Planning Your Ilford Denim Jacket
My measurements are currently – chest 41.5”, waist 31”, hips 42.5” which puts me at an XL for my chest and hips and a L for my waist. Looking at the finished garment measurements and reading about other sewist’s experiences on instagram, I decided to cut a size L to have a slightly less boxy fit. Friday Pattern Company suggests if you size down to keep the sleeve size of your measured fit, which I didn’t do and would absolutely do the next time!
Cutting the Fabric
I used the A0 file calibrated for my projector to cut the pieces. Many of the A0 pieces are supposed to be cut on the fold, but with a fabric this thick cutting on the fold can be challenging. To mediate this, I traced the folded pieces so I could cut them as one flat piece. The pattern comes with so many pocket options! I was really inspired by simple chore coats with large patch pockets, but I wanted to be able to put my hands in my pockets a little bit easier. To get this effect, I cut four of the large patch pockets. I didn’t want any arm or chest pockets to keep the front of my jacket simple, so those were the only pockets I cut. I will talk more about pocket construction below.
Sewing the Pattern
The pattern comes together super quickly! I decided to serge all my seams and press the seams open, topstitching and catching the seam allowance. It’s super important to test top stitching tension on your machine with a piece of scrap material. If your machine can’t handle the topstitching thread, use the topstitching thread and a regular bobbin or you can use two spools of regular thread in place of topstitching thread.
Pockets for the Ilford Denim Jacket
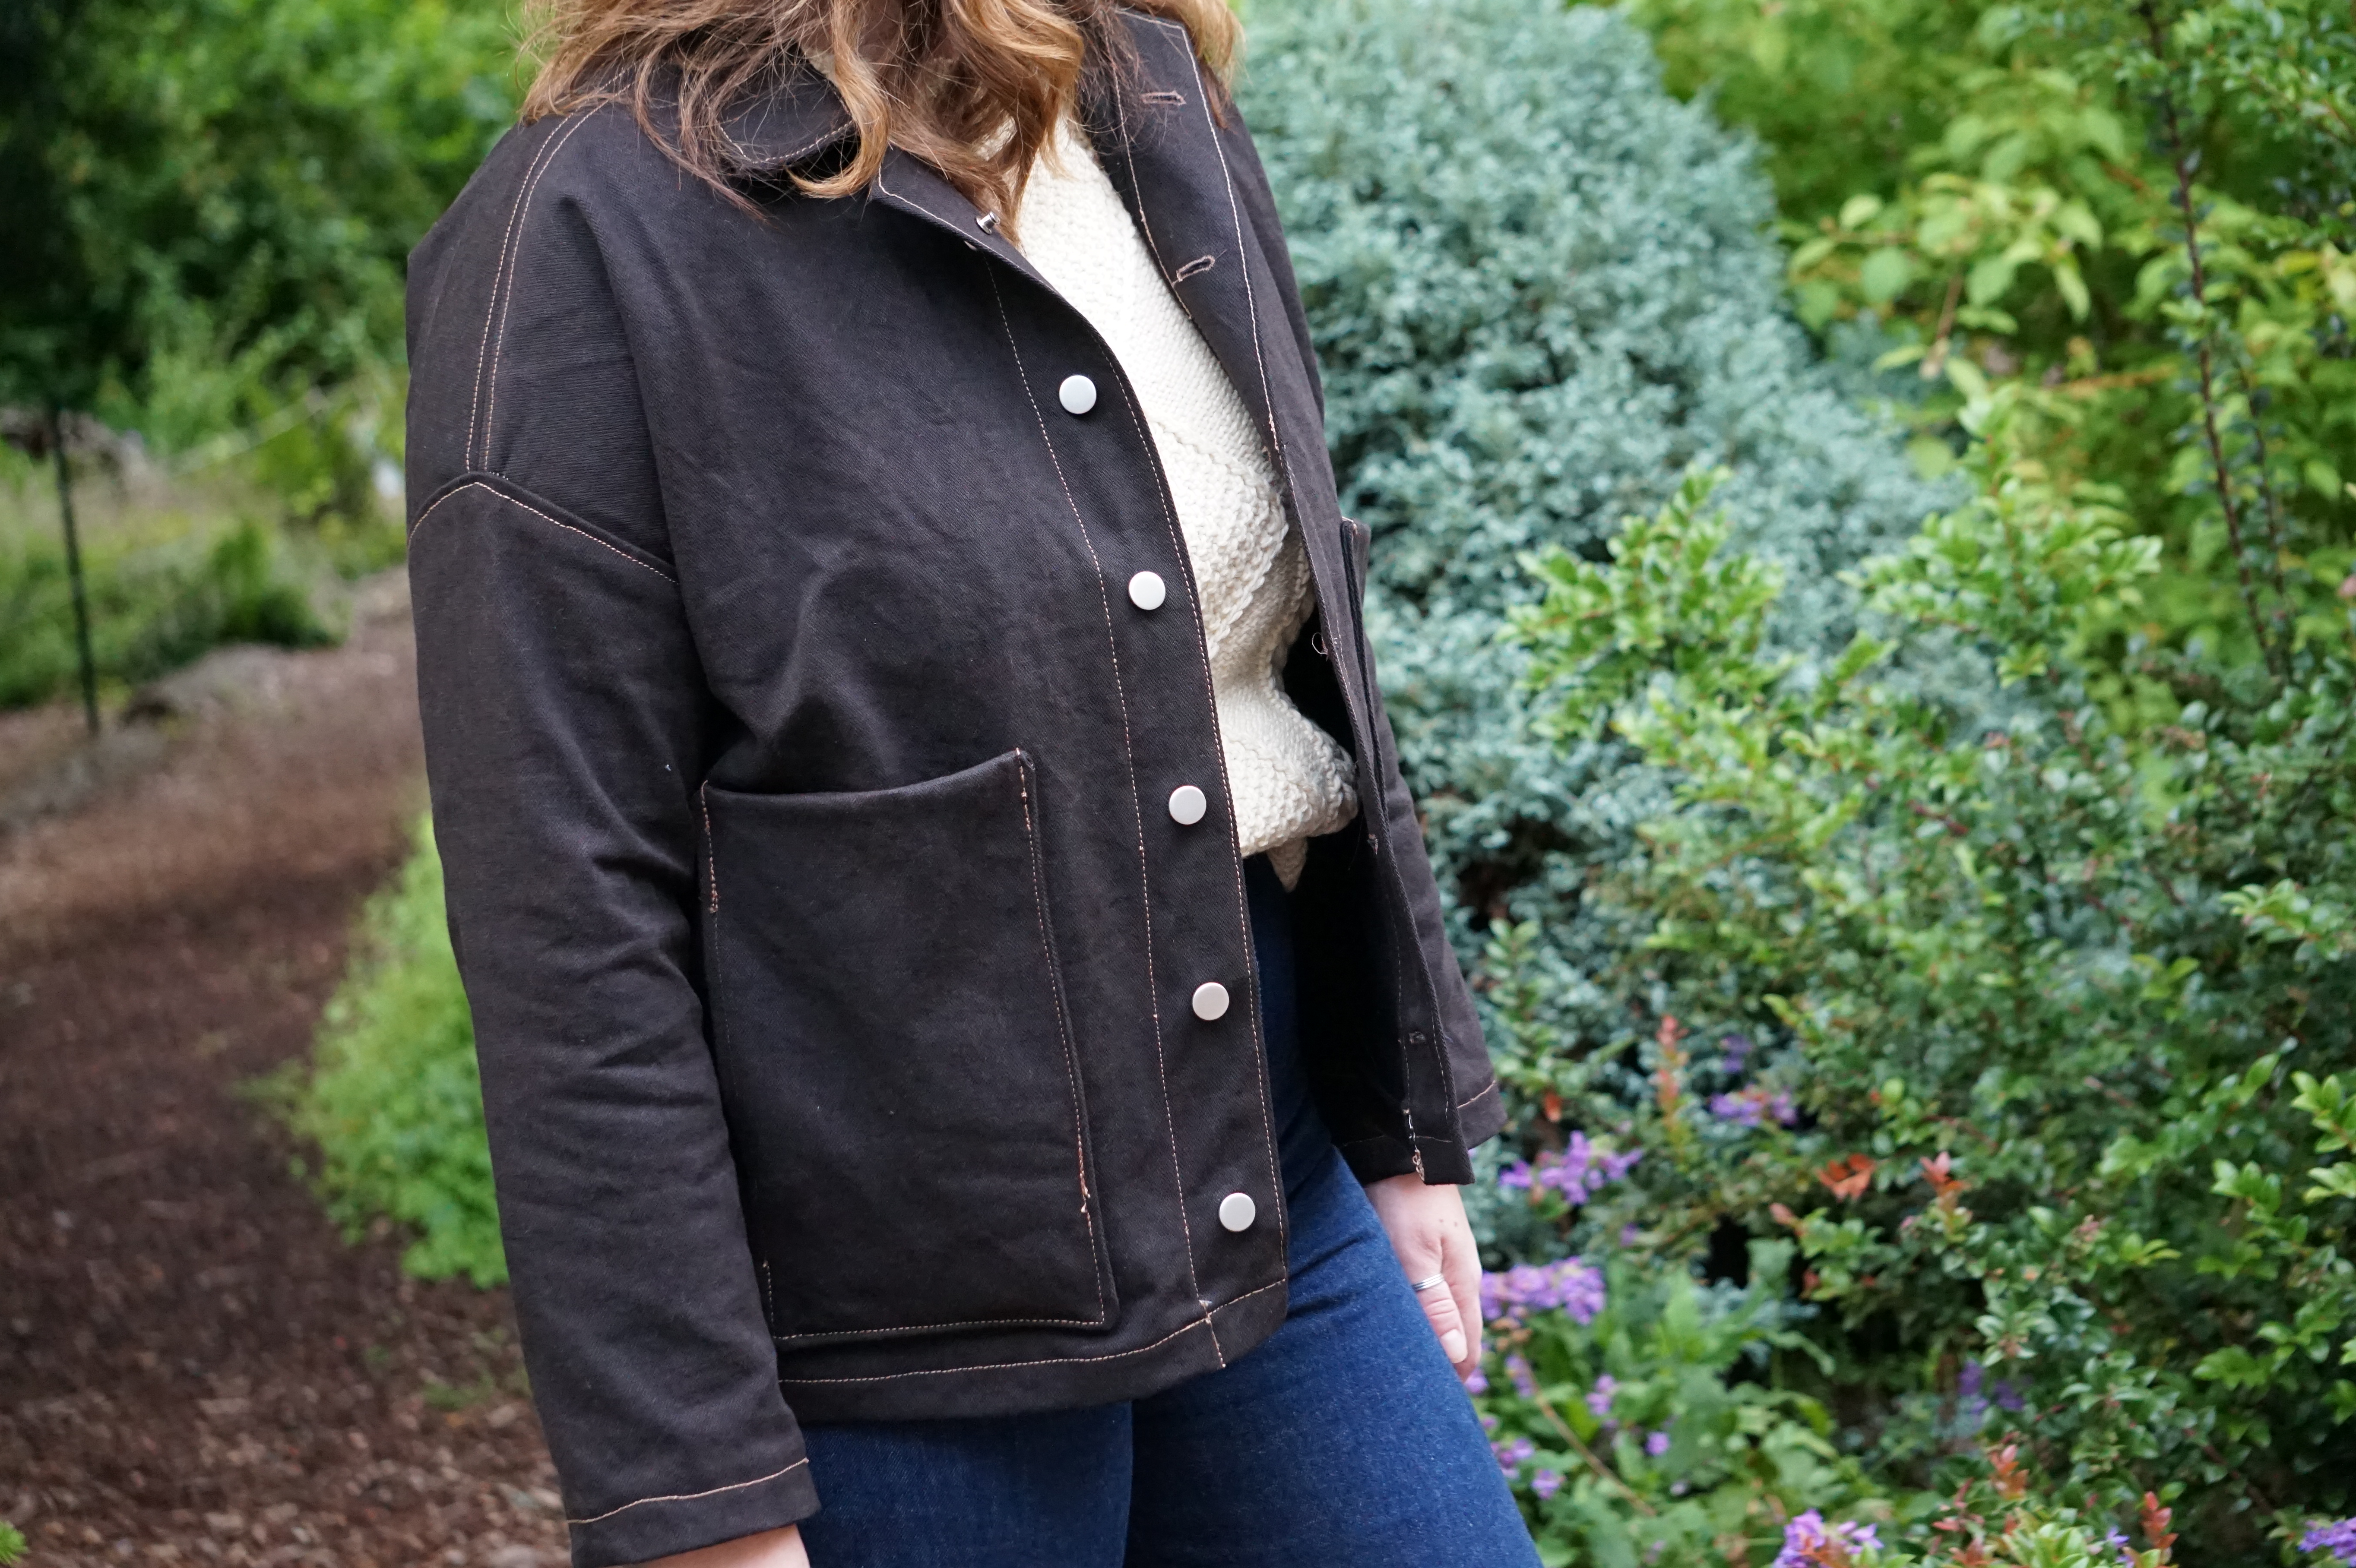
The pockets are added to the jacket after it’s fully sewn together, with the exception of arm pockets if you are adding those. Like I mentioned above, I decided to make the large patch pockets, but I wanted to be able to access pockets from both the top and the side. To do that, I cut four large pocket pieces. To create one of the pockets, I sewed two pieces right sides together around three sides fully. On the fourth side, I sewed 2 inches down on each side. On each seam I used a ¼” seam allowance using all purpose thread.

Then I clipped the corners and turned it right side out, pressing in place. I sewed the open enclosure of the pocket in place on each side also using matching all purpose thread.


I didn’t finish these edges, which totally might be a mistake, but I didn’t want a serged edge to show and I didn’t want to use bias binding. To attach the pocket to the jacket, I pinned it in place and used topstitching thread to sew ¼” around the edges, except the opening on the side and on the top. Then I attached the bottom piece of the side opening to the jacket.

This way in the same place I can use the pocket from the top or the side! Even though it took me many tries to make my topstitching even, and there are still some places that are a little lumpy, overall I am stoked about this jacket and really thrilled with how it fits!
A huge thank you to Anna for taking the time to make this Ilford denim jacket for us! We love how this turned out! If you’re not already following Anna on Instagram, you totally should be! You’ll find lots of inspiration and some of the cutest garment pieces you’ll ever see!


If you've made it this far, thank you!! We really hope you decide to make your own version of the Ilford! Don't forget to get your pattern here!

