


Hi, Tawnee here, today I’m sharing one of my favorite little sewing tricks: how to pattern match your quilt backing so it looks like one seamless, glorious piece of fabric.
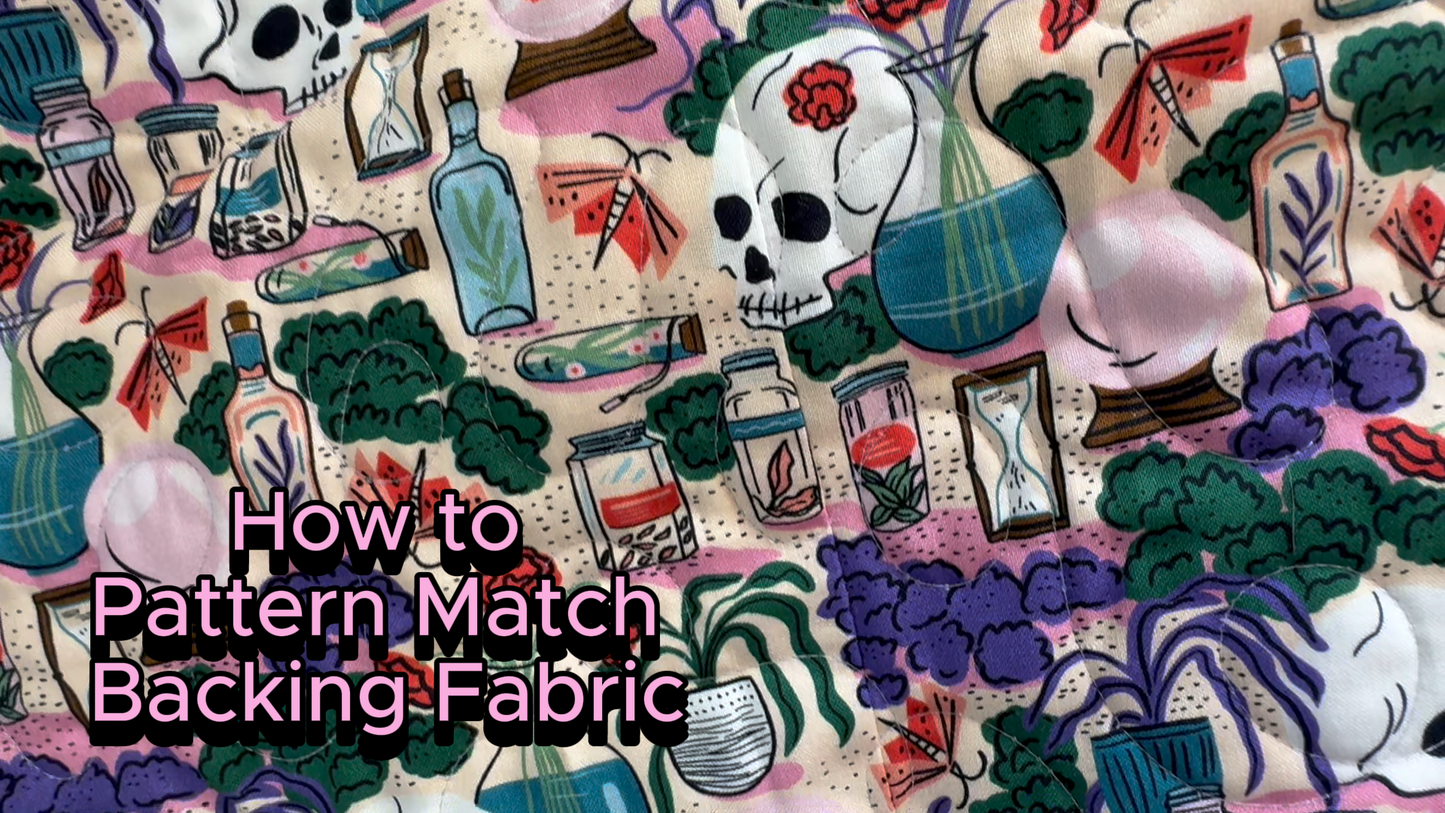
Whether you're working with a bold floral or spooky skulls and moths (like I am here), pattern matching helps your quilt backing look like one continuous piece instead of having an obvious seam line running through it.
*You absolutely do not have to match your quilt backing! This is just a little bonus you can do to add a nice touch.
What You’ll Need:

- Two pieces of backing fabric (two halves of your total backing length)
-
- You’ll need to plan ahead and purchase at least ½ yd extra of your backing fabric.
- Elmer’s School Glue (my favorite sewing notion)
- An iron
- Your sewing machine
-
Scissors or a rotary cutter
Optional: A fine-tip glue bottle (like the one from Pen and Paper Patterns) for more precision. Not necessary, but very nice to have.
Step 1: Press One Side of the Backing

Start by folding over the long edge of the first piece of backing fabric about an inch, wrong sides together. The actual measurement isn’t crucial (just make sure it’s more than ½"), but what is important is that you’re folding along a consistent line in the print. Find an element in the print that you can follow as you press.
For example, I used the eye of a skull motif to guide my fold all the way down. This helps ensure the pattern will line up properly later.
Don’t trim the selvedge yet, we’ll do this after everything is sewn together.
Step 2: Lay Out and Match the Second Piece

Now lay your second piece of backing right side up on your ironing surface. Give the area where the seam will be a light press to smooth it out. You do not need to press the whole backing first, wait until the end. Or don’t press at all like I do.
Next, place your pressed piece of backing on top, lining up the pattern. Take your time here. Some fabrics (like the one I used) have a small repeat, making this easy. Others may require a bit more finesse to get just right. That’s why you need the extra half yard!
Step 3: Glue It Down

Once the patterns are aligned, run a very fine bead of Elmer’s glue along the folded edge of the top piece. You don’t need much; a little goes a long way.
Place the piece back in place and gently press the glued area with your iron (dry heat only!) to set the glue. I hold the iron down for about 5 seconds per section. You’ll know it’s set when it feels dry to the touch.
Work your way down in small sections — glue, press, shift, repeat — being careful not to pull apart what you’ve already fused.
Step 4: Sew It Together

Now flip the top fabric piece over so the two backing pieces are right sides together. You’ll see the nice crease from earlier. That’s your stitch guide!
Sew right down that crease line. I align the crease with the center of my presser foot and try to maintain a steady pace. I find that going a little faster is easier for me to keep a straight line, but do what works best for you and don’t stress if your line gets a little off.
Step 5: Trim & Press

After sewing, trim away the excess fabric. You can use scissors (like I do) or a rotary cutter if you’re feeling precise. Aim for about a ½" seam allowance.
Then, give the seam a final press and admire your perfectly pattern-matched seam!
With any luck, you’ll barely be able to spot the seam, and your quilt back will look like it came straight off a bolt of perfectly continuous fabric.
That’s It!
Pattern matching quilt backing is a simple way to level up your finished quilts!
If you need cute quilt backing fabric, we’ve got you covered! Check out our selection of quilting cottons.
If this all felt like more work than it was worth, check out our selection of 108” widebacks. No piecing required!
Happy quilting!
– Tawnee


